Modern technologies such as Photoshop add an additional set of tools to the photographers arsenal. One such method in Photoshop known as “photomerge” allows you to seemlessly stitch multiple images together in order to create a very large and comprehensive image without the use of a tripod or thousands of hours of post processing. The result is able to capture much more field of view beyond the width of your lens.
The key to successfully creating these images is using your camera’s manual settings and leaving focus static. If you are shooting a person, such as in our example below, you would set your correct exposure for the subject and then you can either manually focus the camera on the person or, as I prefer to do, you can let your camera do the work on automatic and then switch into manual focus to start the series of images. I can’t stress enough the use of manual camera settings. If you are shooting anything automatically it will adjust the exposure between images and the stitch will not work.
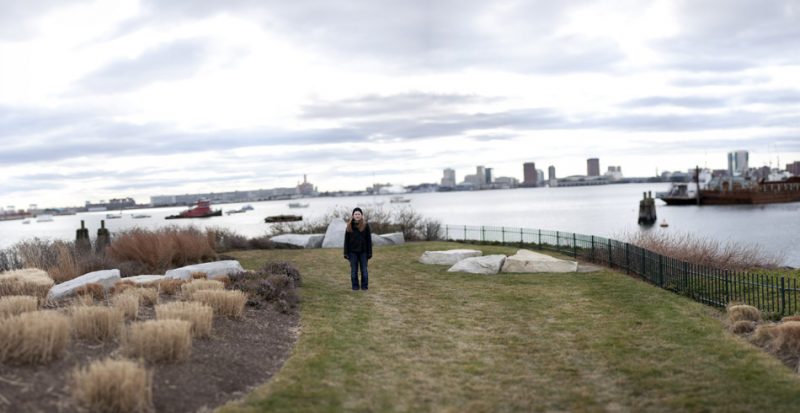
The best way to take the stitch, as I stated above, is to focus on the subject and start taking pictures in a circular pattern from the center out. In the image below you can see the outlines of each individual picture as they stack and line up on top of each other.

Pano with each individual image
Once you have fished the images, simply choose automate and photomerge from the file menu in photoshop and let the program do its work. This can be EXTREMELY resource intensive depending on the resolution of your images. It can be done with almost any computer but it’s going to take substantially longer if you don’t have a lot of memory.
The added bonus of these images is, since we aren’t adjusting focus, we effectively create an image that would be taken by a lens that does not currently exist or would literally cost tens of thousands and possibly hundreds of thousands of dollars. The final image below was taken with a sigma 85mm f 1.4 but has roughly an effective focal length of a 15mm lens at f 0.2. For reference the price difference between the Canon 85mm 1.8 and 1.2 is ~$1400

Final Pano
At this point the only thing left to do is flatten the layers of the image, crop, and re-size so that it isn’t so massive. In the above image I also used the patch tool to remove my gear that was laying on the ground and some tire marks that appear in front of the subject.
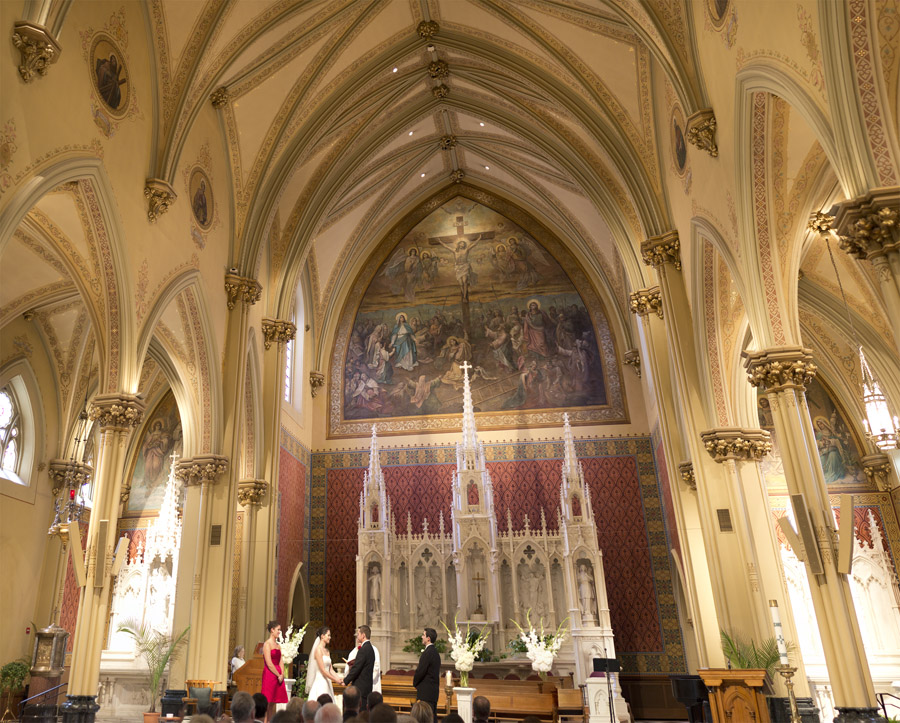
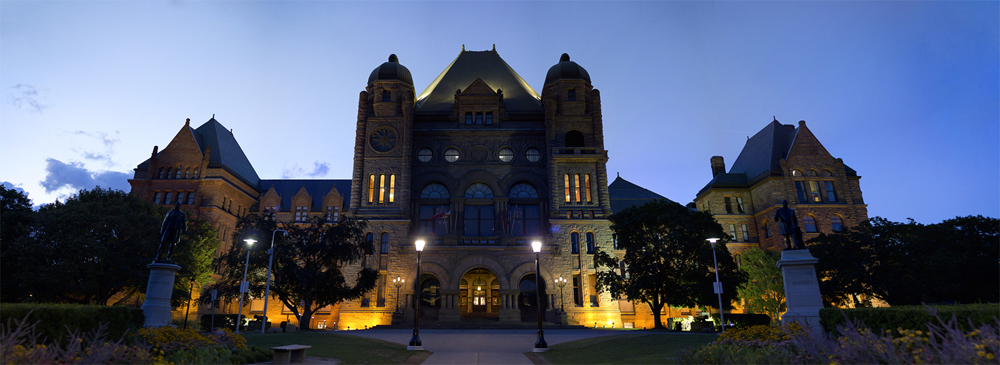
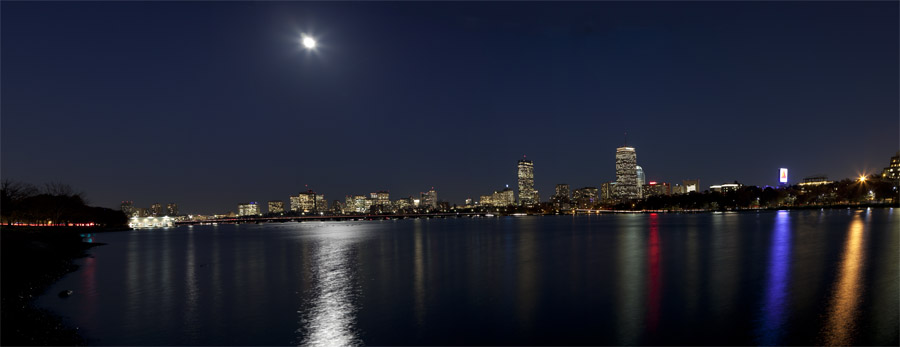
Here are a few more examples of stiched images: